Frog Collector Upgrades Guide
Spend placement earnings on capacity, reach, throw power, and matching help—without starving your early shop.
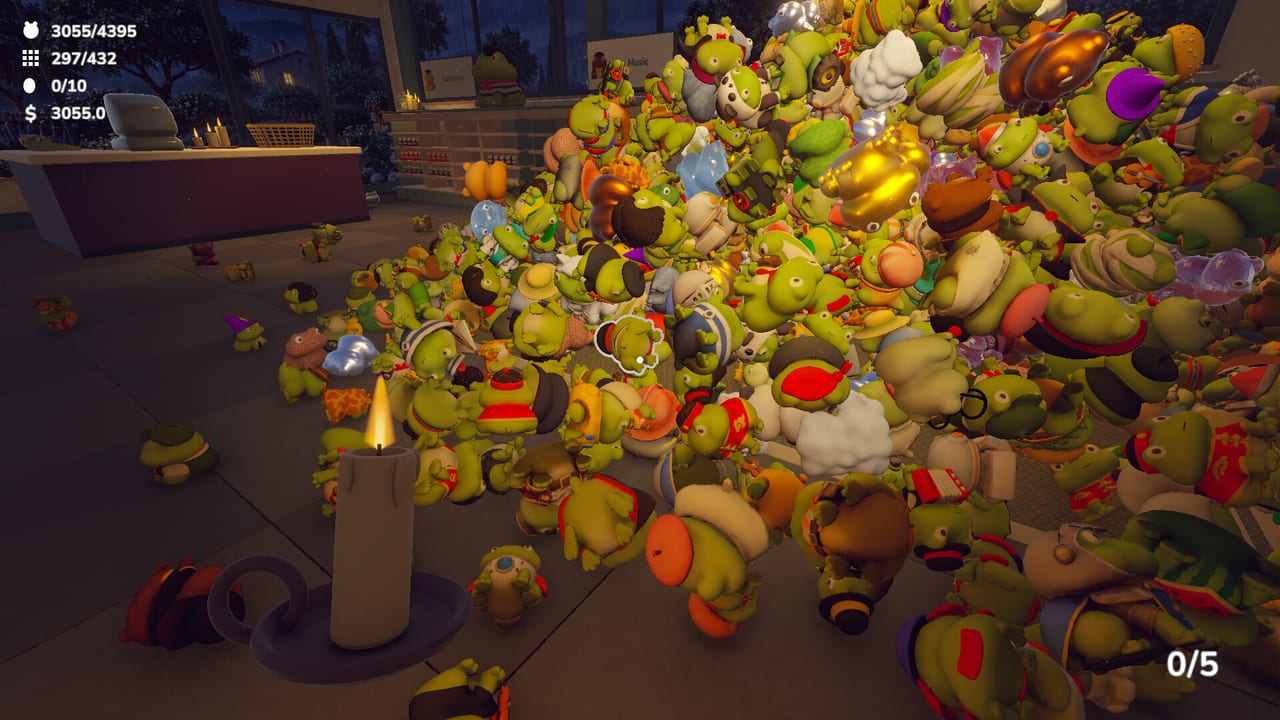
Every correct frog placement in Frog Collector pays you. That money exists for one job: buying upgrades that turn a slow tidy-up into a flowing hobby ritual. This guide explains the upgrade families TidyMage highlights—carry capacity, reach, throw improvements, and matching helpers—plus how to sequence purchases across your first evenings in the shop.
If you are still learning the verbs, read Controls and Getting Started first. For how upgrades change routing, see Efficient Sorting. Early priorities are also ranked on the Early Game Tier List.
How the economy works
- Sort a frog onto the correct themed shelf.
- Receive money for the correct placement.
- Visit the upgrade offerings in the shop.
- Buy quality-of-life powers that multiply future earnings by saving trips and mistakes.
- Repeat until shelves, eggs, and machines all feel reachable.
There is single-player only split of cash—Frog Collector is single-player—so every coin is yours. Figures can be moved again, but you only earn when placements are correct, which nudges you toward learning themes instead of yeeting random frogs forever.
Upgrade families
Carry capacity
What it does: Lets you hold more frog figures per trip from pile to shelf.
Why it matters: The shop is large and piles are dense. Doubling (and later further raising) capacity cuts walking time more than almost any other purchase. Capacity compounds with good routing: a planned aisle clear with a full carry beats hero throws with one frog in hand.
Buy when: As soon as you understand basic place/throw. First or second purchase for most players.
Reach
What it does: Extends how far you can interact—grabbing frogs and engaging shelves or objects without standing on top of them.
Why it matters: High shelves, awkward corners, and physics piles at the back of a heap stop being miniature platforming puzzles. Reach also reduces accidental topples caused by jostling deep in a stack.
Buy when: Immediately after or interleaved with capacity. Reach without capacity still means many trips; capacity without reach means beautiful armfuls you cannot dock cleanly.
Throw power (and throw feel)
What it does: Improves how far and how reliably you can toss frogs toward shelves or staging piles.
Why it matters: Open bays and long sightlines become valid drop-offs. You spend less time walking the last ten steps. Combined with physics, stronger throws also help clear floor clutter into intentional mounds.
Buy when: After you have at least a notch of capacity and reach. Throwing harder while you still mis-identify themes just spreads wrong frogs farther apart.
Matching helpers
What it does: Assists you in finding frogs that match each other and/or pointing you toward the shelves they belong on.
Why it matters: With roughly 4,395 figures, recognition fatigue is real. Helpers shorten the “what theme is this?” stare and reduce wrong-shelf iterations.
Buy when: Once two or three theme families are familiar and you feel the catalogue gap more than the walking gap. Helpers shine in the mid game; they are worse as a first buy if you still only carry one frog.
Suggested spending order (early shop)
Use this as a default, then adjust with the Early Game Tier List:
- Carry capacity — fewer trips immediately.
- Reach — cleaner grabs and shelf docking.
- Second capacity or reach rank — if offered in tiers, deepen the foundation.
- Throw power — unlock distance play for open bays.
- Matching helpers — accelerate theme mastery and catalogue completion.
- Flex buys — revisit whichever bottleneck hurts most (still walking too much? capacity. still missing high slots? reach. still guessing themes? helpers).
Resist the urge to max throw before you can carry a meaningful load. Flashy arcs do not fix a one-frog economy.
Mid-game spending strategy
Once early shelves look intentional:
- Alternate economy upgrades (capacity/reach/throw) with knowledge upgrades (matching helpers) so neither walking nor recognition becomes the only limiter.
- After each purchase, run a regression lap: revisit an old aisle. New reach often reveals frogs you skipped on day one; new helpers re-frame leftovers.
- Bank a small reserve before expensive ranks if you are about to explore shop machines or egg hunts—discovery is more fun when you are not broke. See Hidden Eggs.
- Keep the Collection Checklist nearby so you spend toward themes that are actually incomplete.
Late-shop and completionist buys
As you close in on full themed shelves:
- Push reach and helpers for awkward leftovers and look-alike figures.
- Use throw ranks to finish remote bays without endless walking.
- Capacity still helps during mass reorganizations when you decide to restyle a section.
- Personal favorite display curation does not replace upgrades, but a finished case is a nice milestone between expensive ranks.
Synergy with other systems
- Catalogue — Helpers and catalogue together answer “what am I missing?” Capacity and reach answer “how fast can I fetch it?”
- Physics — Higher throw power without discipline creates more floor mess; pair with the staging habits in Efficient Sorting.
- Machines & eggs — Some exploration obstacles feel fairer with reach; do not soft-lock your fun by delaying all exploration until max upgrades, but do grab reach before frustrating corner hunts.
- Achievements — Among the 12 Steam Achievements, several will naturally follow upgrade milestones and collection progress. Play the economy; do not reverse-engineer every achievement first.
Anti-patterns (stop doing these)
- Saving all money “for later” while still carrying a single frog.
- Maxing throw, then wondering why inventory trips feel awful.
- Buying every helper before learning two themes by eye—helpers teach faster when you already have a baseline.
- Ignoring Launch Notes after a balance patch changes prices or ranks.
- Planning multiplayer upgrade shares—there is single-player only; your build is solo.
Session plan template
- Sort for 15 minutes on one theme bank.
- Count coins; buy the next item on the early order list.
- Spend 5 minutes re-clearing an old aisle with the new power.
- Catalogue check → update your Collection Checklist.
- Optional 5-minute egg/machine peek (Hidden Eggs).
- Repeat or stop while the shop still feels cozy.
Related pages
- Guides Hub — all tutorials.
- Getting Started — first money loop.
- Controls — how throw/place feel in the hand.
- Efficient Sorting — routes that spend upgrade power well.
- Tier List Hub and Early Game Tier List — ranked priorities.
- Updates / Launch Notes — patch awareness.
- Wiki / Links — Discord and store.
- System Requirements — keep the shop running smooth while you optimize.
Upgrades are how Frog Collector respects your time. Buy the boring movement powers first, add aim and brains second, and let the themed shelves bloom.
Frequently Asked Questions
Quick answers to the most common Frog Collector questions.
What is the best first upgrade in Frog Collector?
Carry capacity for most players, with reach a close second. Together they cut walking and awkward grabs more than early throw power or helpers.
When should I buy matching helpers?
After you understand a few themes and already improved capacity or reach. Helpers accelerate recognition once walking is not your only bottleneck.
Do upgrades matter for hidden eggs and machines?
Reach especially helps awkward corners. You can explore early, but a notch of reach makes scavenger hunts less fiddly—see the Hidden Eggs guide.
Is upgrade progress shared in multiplayer?
No. Frog Collector is single-player only; your earnings and upgrades are yours alone.
Where should I look for a ranked early-game buy list?
Use the Early Game Tier List alongside this guide for a priority snapshot, then adjust to your shop layout.