
Frog Collector Efficient Sorting Guide
Route the shop, match with intent, throw with purpose, and let the catalogue steer every trip.
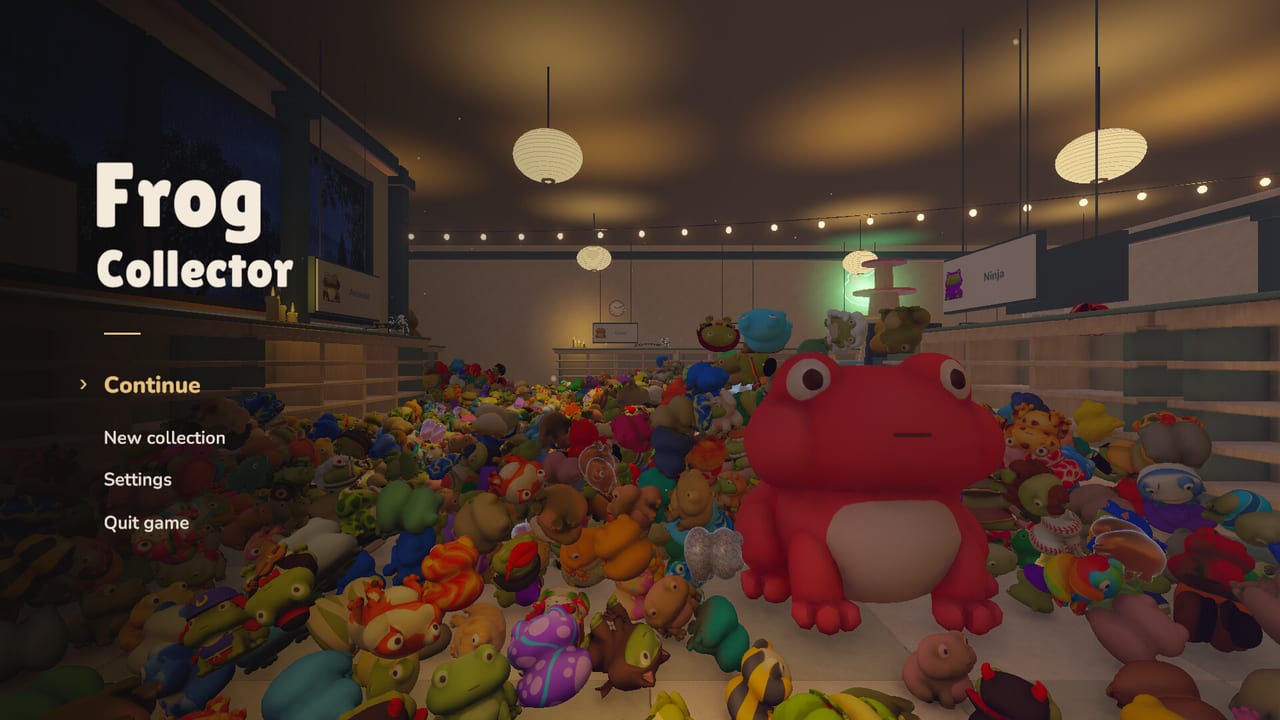
You can finish Frog Collector by wandering—and many cozy evenings should stay that loose. When you want progress without losing the rainy-shop vibe, you need efficient sorting: smart routes, deliberate matching, disciplined throw/place choices, and a catalogue habit that scales toward roughly 4,395 frogs. This guide turns upgrade power into frogs-per-session without converting the hobby into a spreadsheet prison.
Prerequisites: know the verbs in Controls, finish the day-one loop in Getting Started, and buy early capacity and reach from Upgrades. Discovery breaks still matter—park them with Hidden Eggs so scavenger hunts do not shatter your route.
The efficiency mindset
Efficiency here means fewer wasted trips and fewer wrong-shelf iterations, not speedrunning shame. Ideal sessions:
- Pick a zone (aisle, shelf bank, color family).
- Fill carry capacity with frogs that belong to that zone.
- Unload with place for tight slots and throw for open bays.
- Check the catalogue between trips.
- Only then rotate zones or take an egg/machine break.
Single-player focus helps: nobody is waiting on you, and nobody shares your upgrade build.
Shelf routing basics
1. Map the shop in three layers
- Floor piles — raw inventory.
- Staging spots — cleared floor tiles where you temporarily mound same-theme frogs.
- Shelf banks — final themed homes.
Never carry mixed mystery frogs across the entire store if you can stage locally first.
2. Snake, do not teleport
Walk a snake route: down one side of an aisle grabbing on-theme frogs, unload, return along the other side. Crossing the shop diagonally every trip doubles walk time and multiplies physics accidents.
3. Finish a bay before opening three new ones
Nearly finished shelves teach matching rules. Leaving five bays at 60% creates recognition chaos. Push a bay to visual completion, catalogue it, then open the next.
4. Revisit after upgrades
Every reach or capacity rank deserves a regression lap through old aisles. Efficient sorting includes harvesting frogs that were previously awkward to grab.
Matching like a collector, not a casino
- Compare the frog in hand to neighbors already on the shelf, not only to memory.
- Trust matching helpers once purchased, but still verify with your eyes—helpers accelerate, they do not replace taste.
- When two themes look alike, place one intentional “reference frog” on each shelf edge as a visual anchor.
- Wrong placement is cheap; long walks with wrong frogs are expensive. If unsure, stage nearby instead of hiking.
Cross-check priorities with the Early Game Tier List when deciding which themes to finish for upgrade money first.
Throw tech without making a mess
Throws are tools, not toys (okay, they are also toys).
- Open bay seeding — Stand at a clear angle, throw into empty rows, then walk in to fine-place.
- Staging throws — Toss same-theme frogs onto a cleared floor patch near their shelf before final placement.
- Avoid last-slot throws — The final gaps on a dense row want place precision.
- Power vs patience — After throw upgrades, re-learn arcs; overshoot creates new floor work.
- Physics etiquette — If a throw topples a stack, pause and restage. Ignoring topples destroys route time later.
Full verb detail sits in Controls; power progression sits in Upgrades.
Catalogue workflow that scales
Treat the catalogue as mission control:
- Start session → catalogue glance → pick one incomplete theme.
- Sort that theme for a block (10–20 minutes).
- Catalogue again → mark mental (or checklist) progress.
- Either deepen the same theme or rotate to a neighboring shelf bank.
- End session → catalogue + update the Collection Checklist.
Do not open the catalogue mid-throw. Do open it before spending a big upgrade so you know whether you are gated by knowledge or by movement.
Capacity-aware trip planning
| Carry level | Trip style |
|---|---|
| Low | Short hops, place-heavy, learn themes |
| Medium | Snake routes, light staging piles |
| High | Zone clears, throw-seed open bays, multi-shelf unload plans |
If you upgraded capacity but still take random frogs, you only built a prettier mess. Fill carries on theme.
Session templates
The forty-minute tidy
- Catalogue → choose theme (2 min).
- Snake-route gather and place (25 min).
- Buy upgrade if affordable (3 min).
- Regression lap with new power (7 min).
- Checklist update (3 min).
The completionist block
- Checklist identifies a lagging theme.
- Matching helpers + catalogue pinpoint leftovers.
- Reach-assisted corner grabs.
- Place-only finishing pass on dense rows.
- Optional five-minute egg sweep (Hidden Eggs).
The cozy low-energy loop
- Easy nearby shelf.
- No long throws.
- Display case visit as a break.
- Stop while still having fun.
Measuring progress without stress
Useful signals:
- Number of fully completed shelf sections, not raw frogs moved.
- Shorter time between catalogue gaps closing.
- Fewer floor frogs on your main snake route.
- Upgrades purchased according to plan (Upgrades, Early Game Tier List).
Avoid obsessing over theoretical maximum frogs-per-minute. The game sells ambience; efficiency should protect ambience by reducing frustration.
Common efficiency leaks
- Mixed-theme carries across the whole shop.
- Throwing into nearly finished dense rows.
- Ignoring staging piles.
- Never reopening the catalogue.
- Delaying capacity forever.
- Egg hunting for thirty minutes in the middle of a hot streak without parking the route (schedule it on purpose instead).
- Assuming multiplayer help will clear aisles—there is single-player only.
After patches
If movement, prices, or helpers change, re-read Launch Notes and the Updates Hub. Retune routes after major shop layout or upgrade tweaks. Keep an eye on System Requirements if busy physics scenes stutter during mass throws.
Related links
- Guides Hub — all guides.
- Getting Started — foundation.
- Controls — throw/place judgment.
- Upgrades — power that feeds routes.
- Hidden Eggs — scheduled discovery.
- Tier List Hub — priority framing.
- Collection Checklist — external tracking.
- Wiki / Links — Discord and official resources.
Efficient sorting is kindness to future-you: clear routes, themed carries, honest catalogue checks, and throws that respect physics. Do that, and the remaining thousands of frogs feel like a ritual instead of a chore.
Frequently Asked Questions
Quick answers to the most common Frog Collector questions.
What is the single best efficiency habit?
Carry on-theme frogs only and finish shelf bays before opening too many new ones. Mixed long trips are the biggest time sink.
When should I throw versus place?
Throw to seed open bays or staging piles. Place for tight, nearly finished rows where precision matters.
How often should I open the catalogue?
At session start, between theme blocks, before big upgrade spends, and at session end—never mid-throw.
Do I need max upgrades before sorting efficiently?
No. Early capacity and reach already unlock strong snake routes. Add throw power and matching helpers as bottlenecks appear.
How do eggs fit into an efficient session?
Schedule short scavenger loops between sorting blocks so discovery does not erase your route focus—see the Hidden Eggs guide.